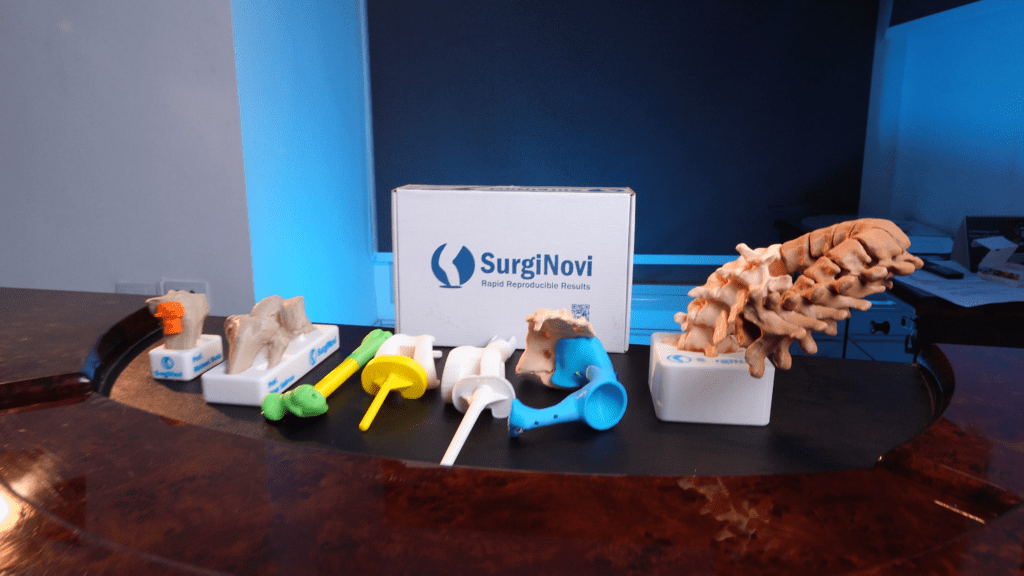
3D Printed Anatomical Models
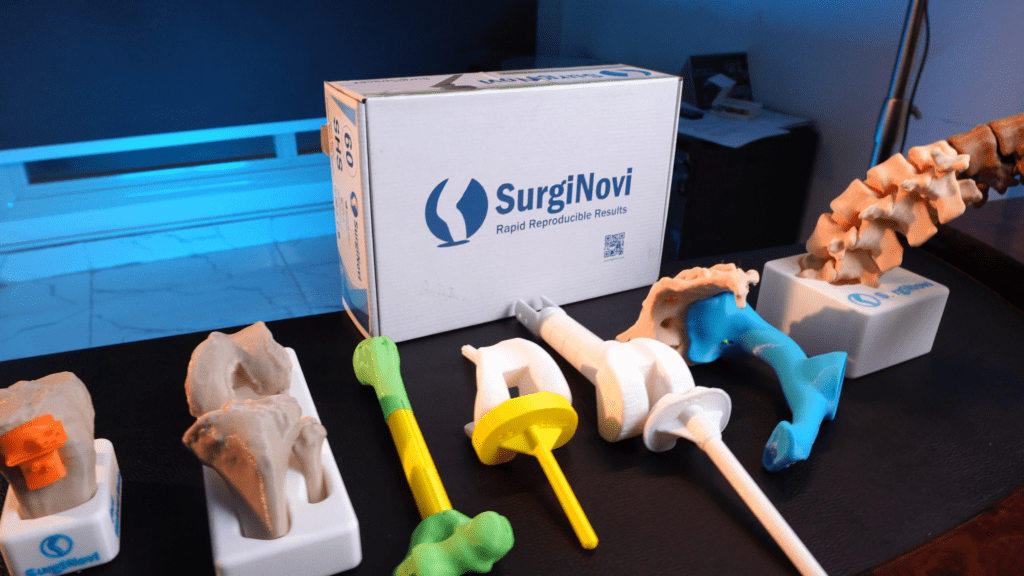
Preoperative Insight Based on True Anatomy
From CT Scan to Physical Model

Step 1 – CT Scan Data Processing and Segmentation
We begin by collecting data from the patient's CT scan. The imaging data is segmented to isolate the relevant anatomical structures while excluding unnecessary information. This process forms the foundation of the model and ensures that only the required anatomy is used throughout the design and manufacturing process.
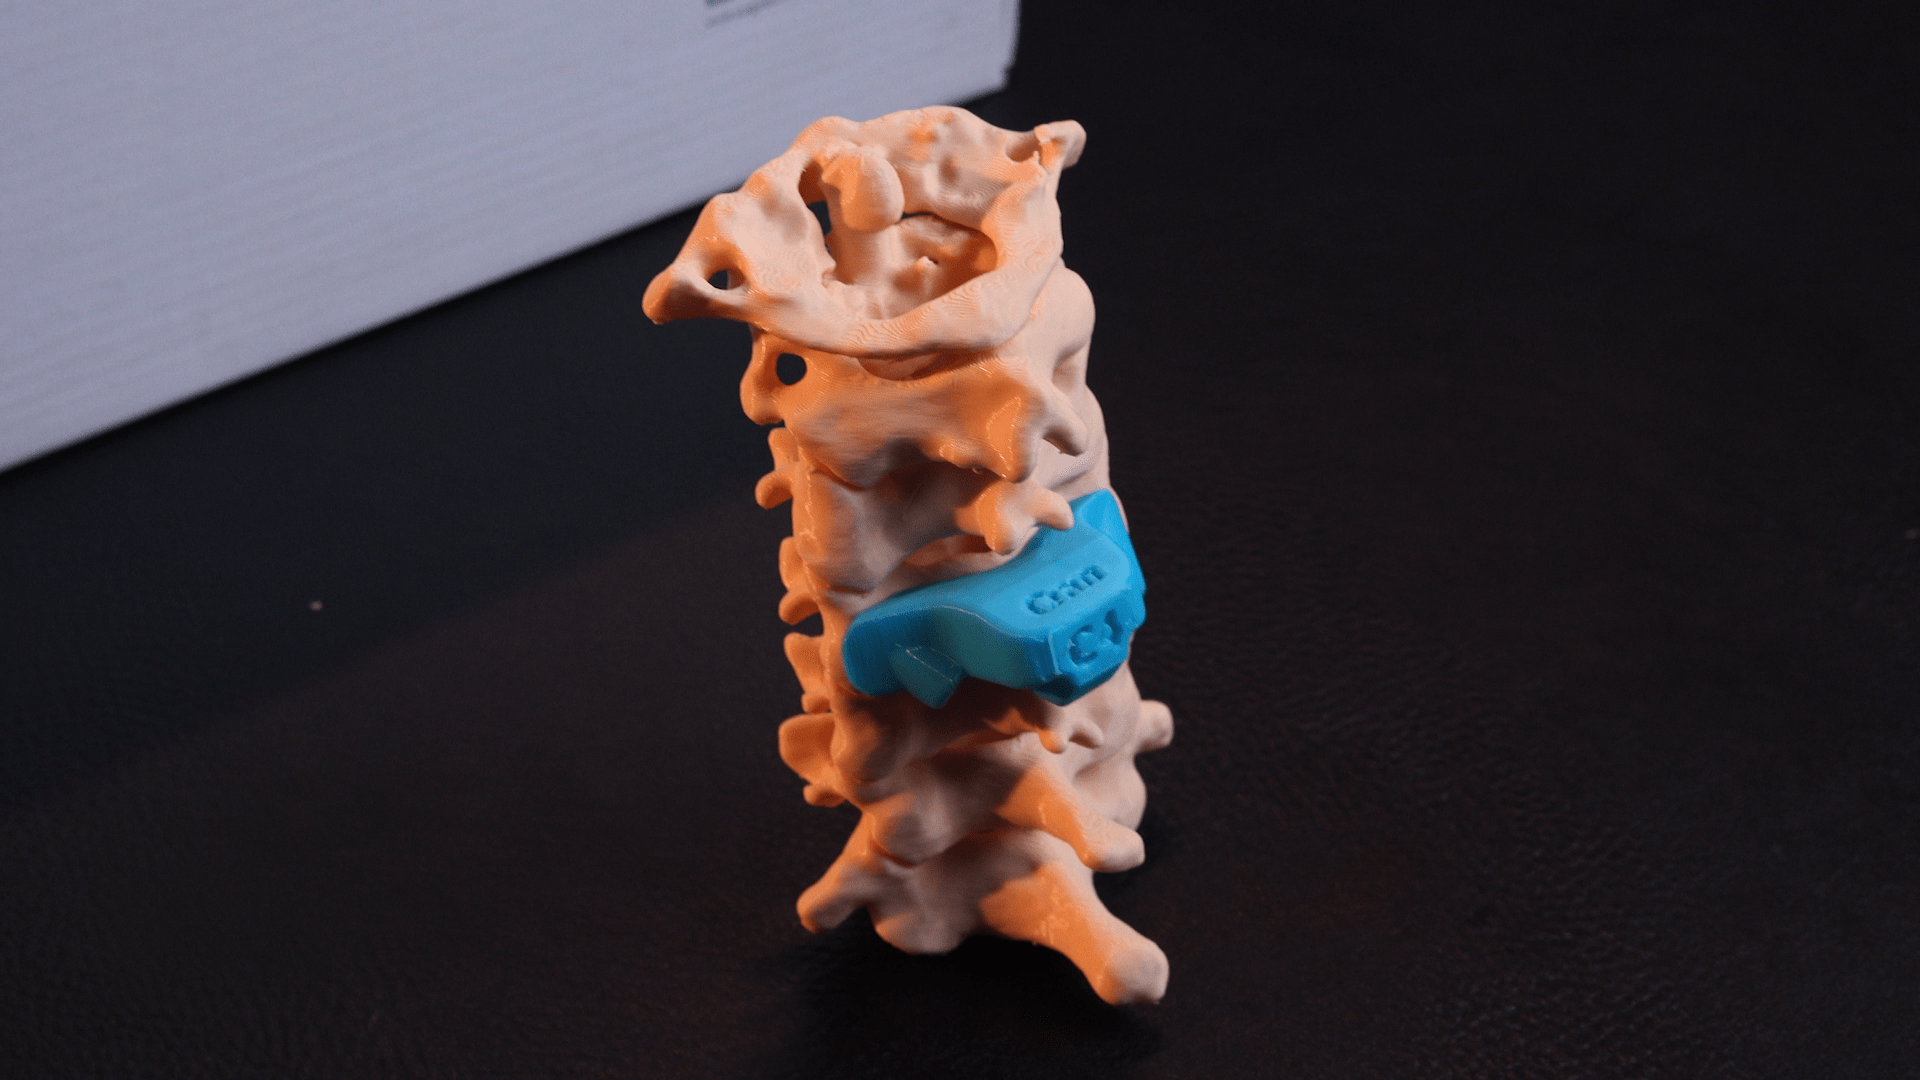
Step 2 – Model Optimisation
Once the anatomy has been segmented, non-required bony structures are removed and the model is refined. The model is smoothed to eliminate rough edges and imaging artefacts, resulting in a clearer and more usable anatomical representation for planning, training, and educational purposes.
Step 3 – Preparation for Manufacturing
For larger or more complex anatomical structures, the digital model may be divided into smaller, manageable components. This approach allows detailed and accurate production while maintaining the integrity of the final anatomical model.
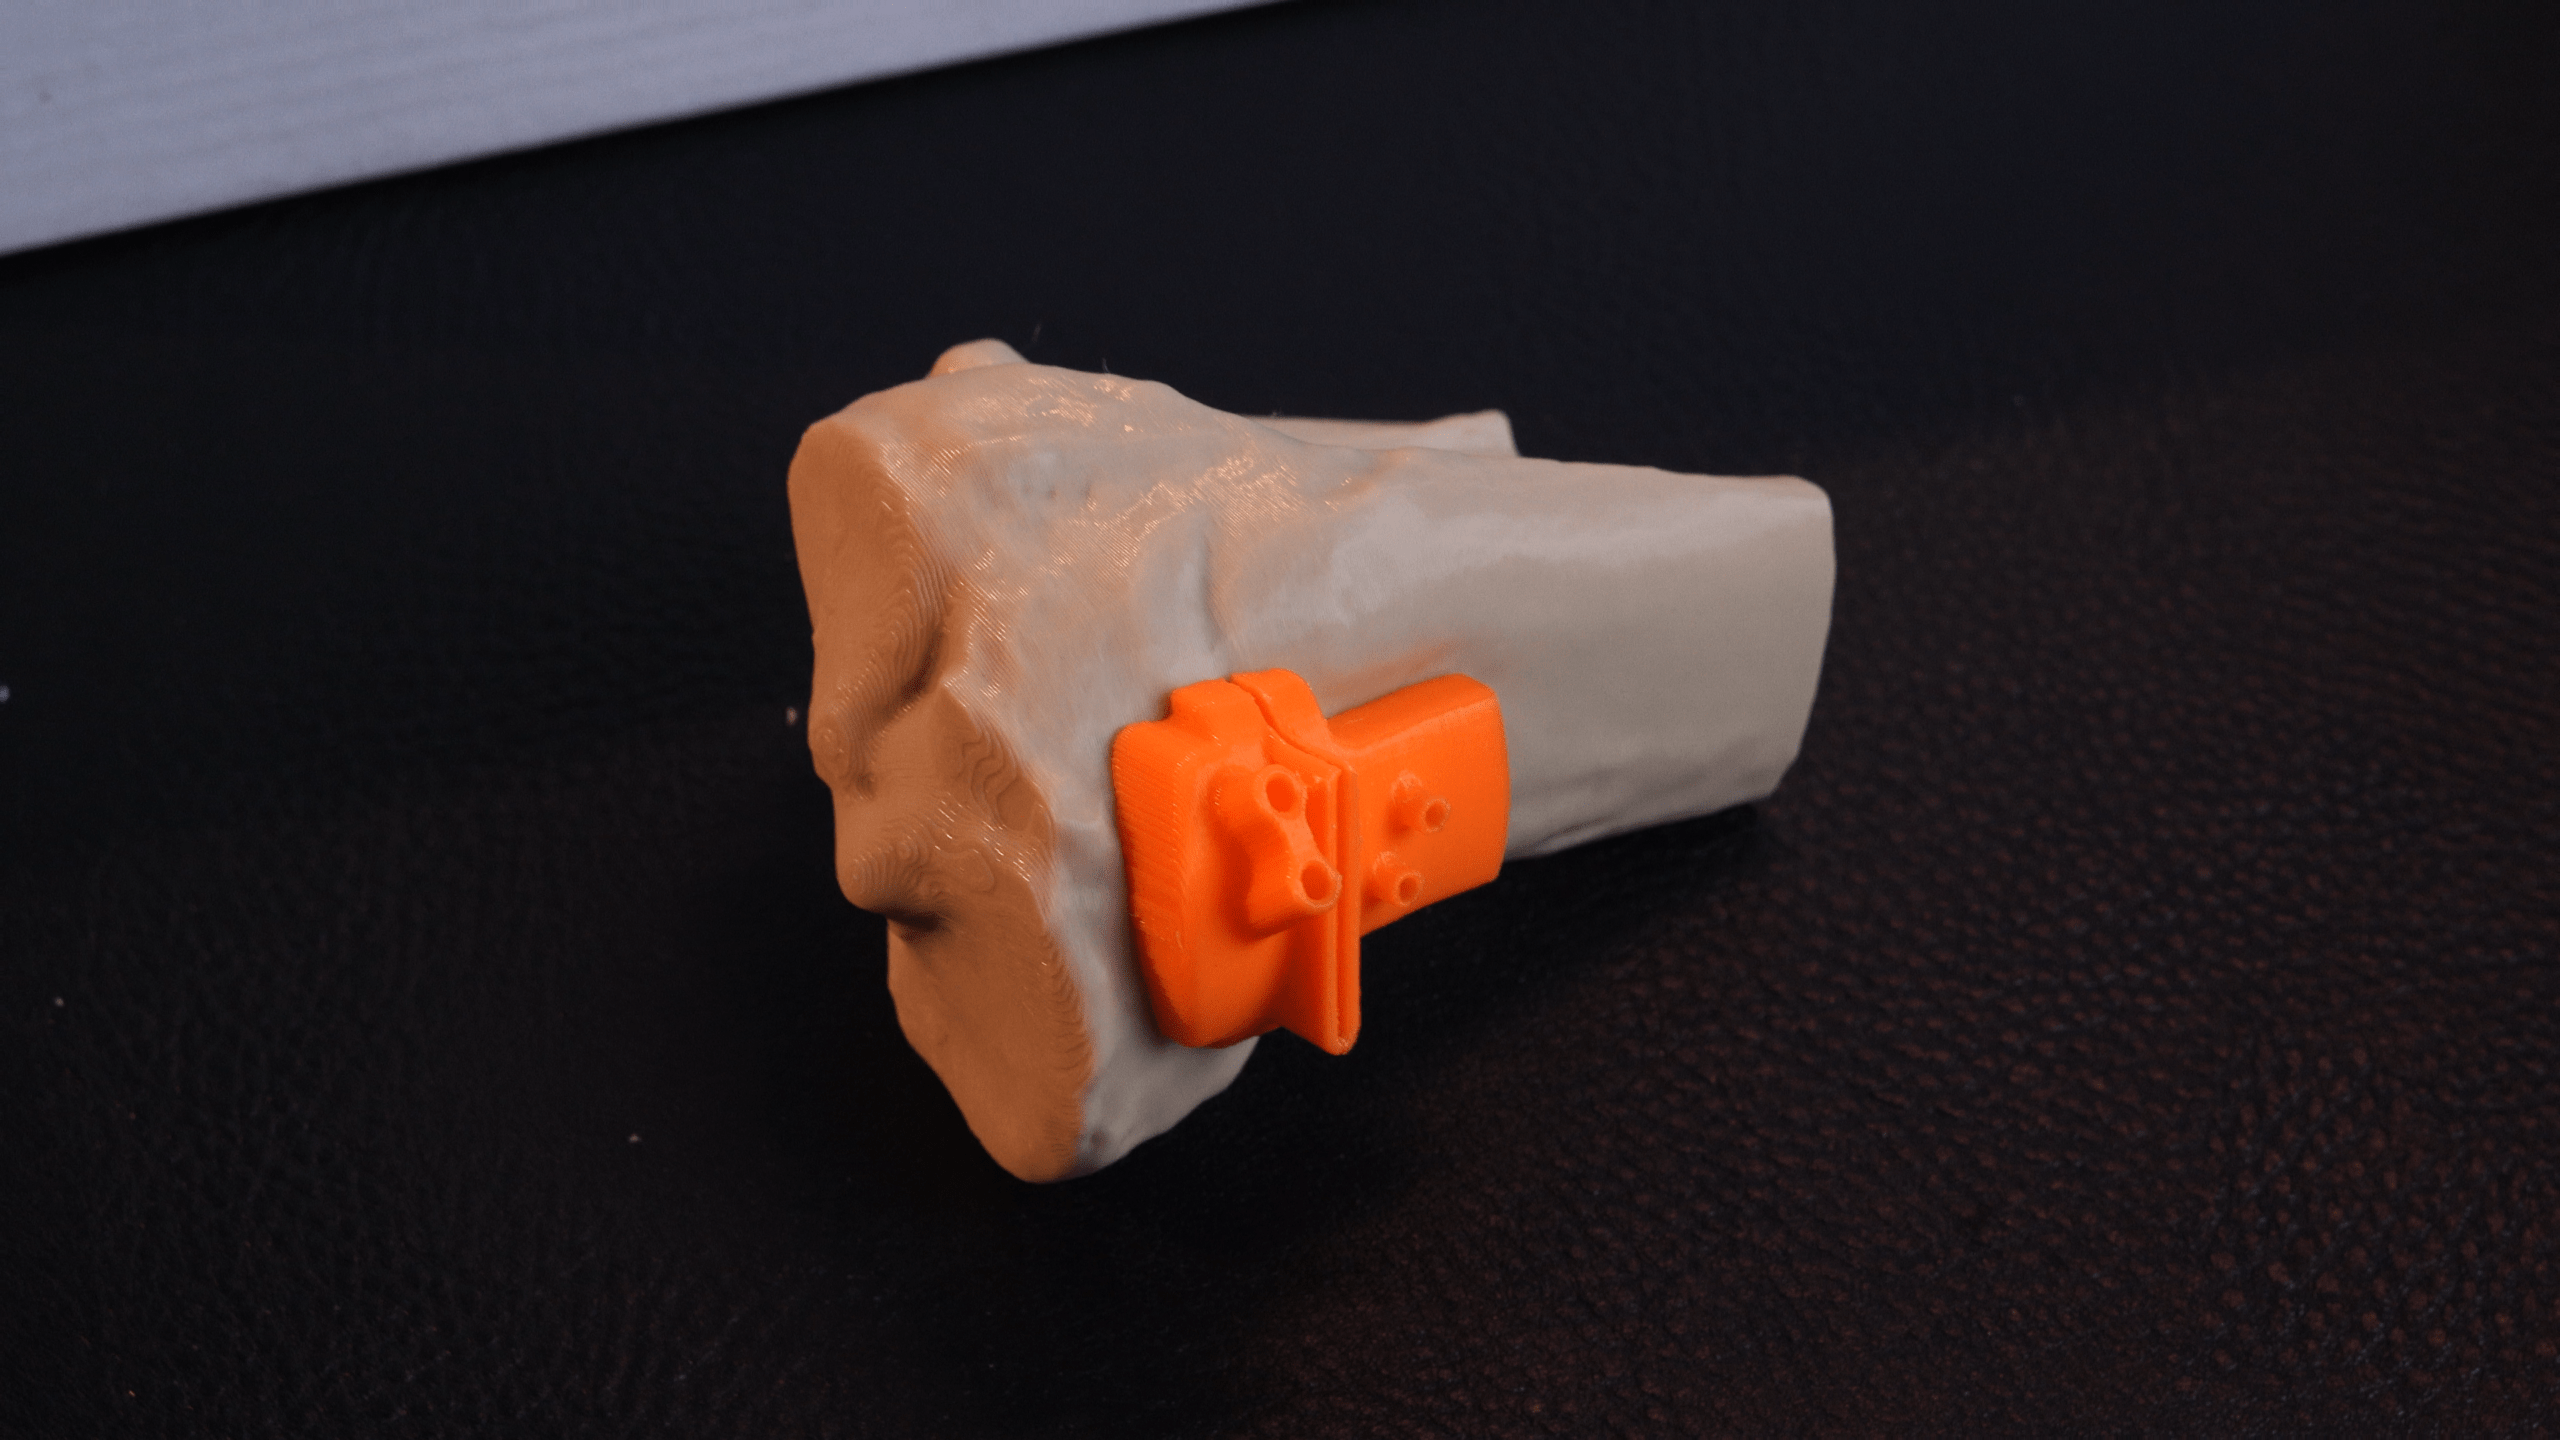
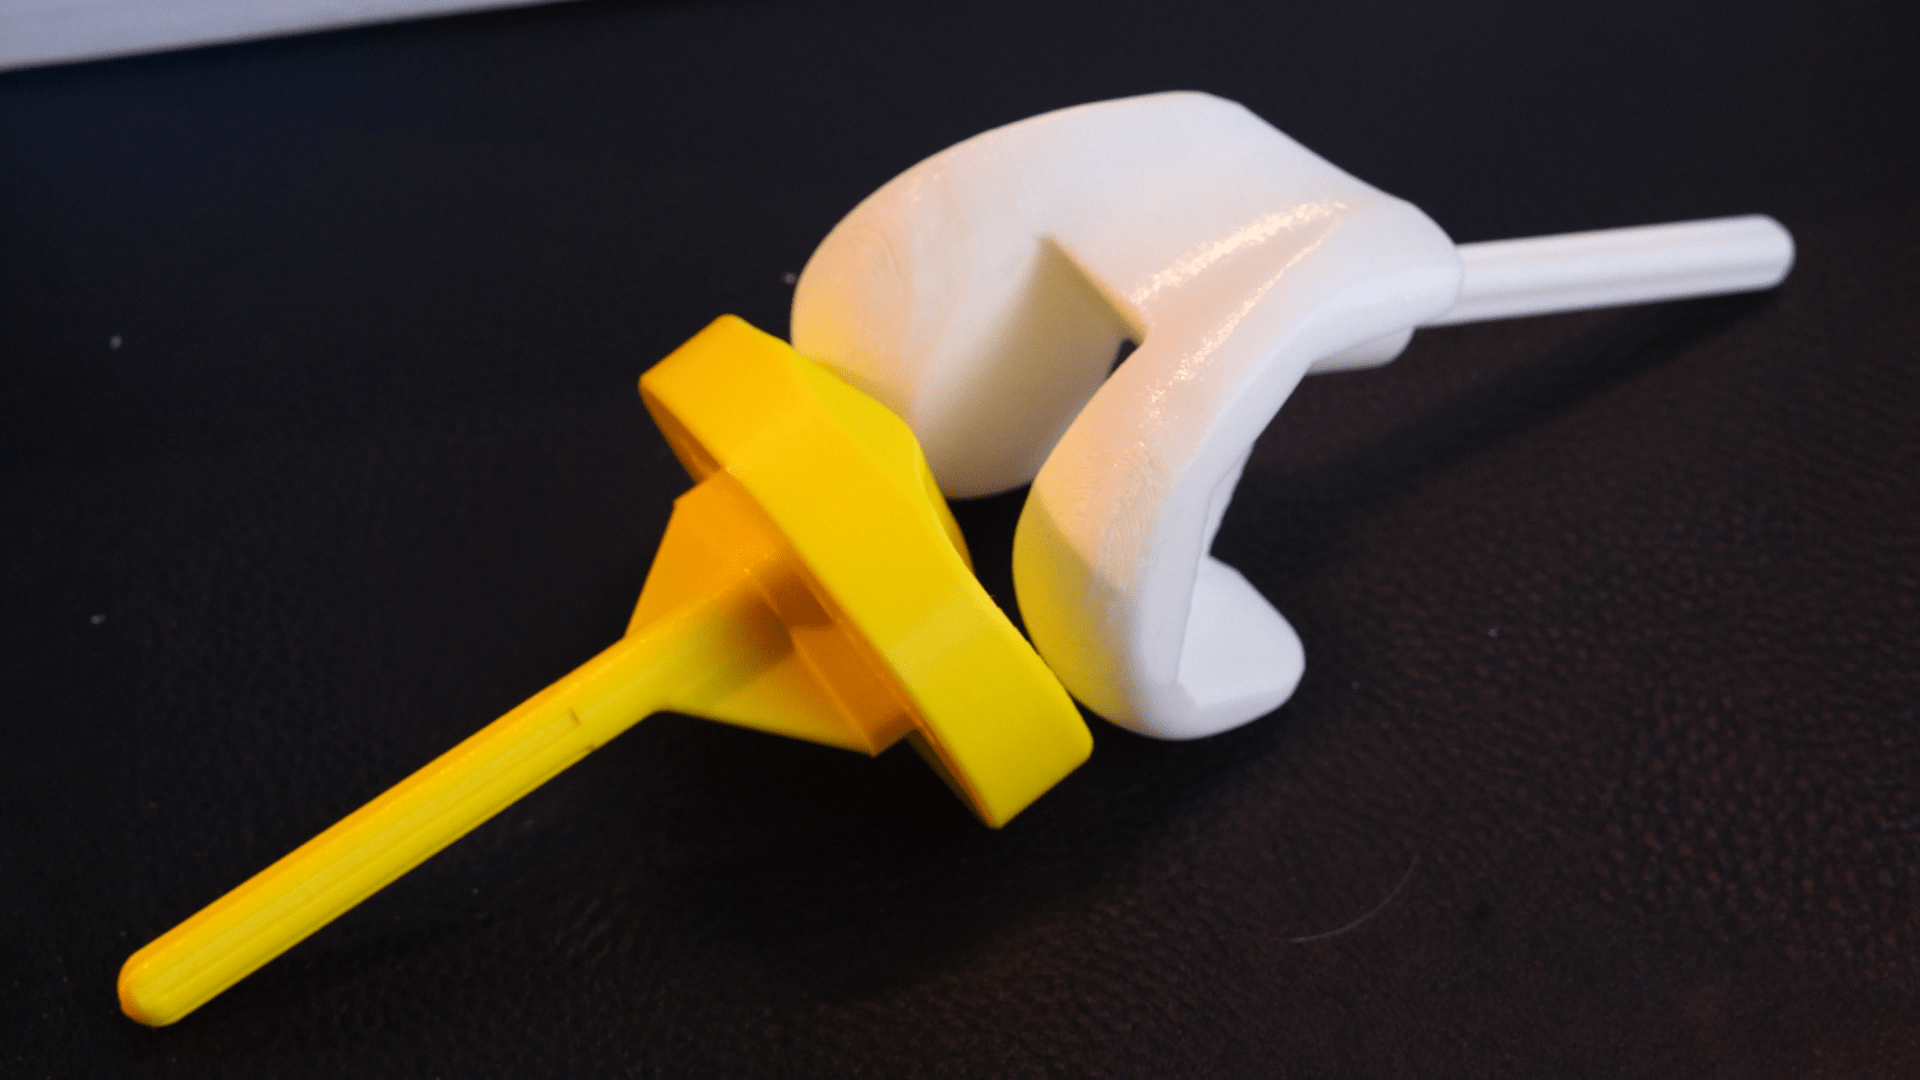
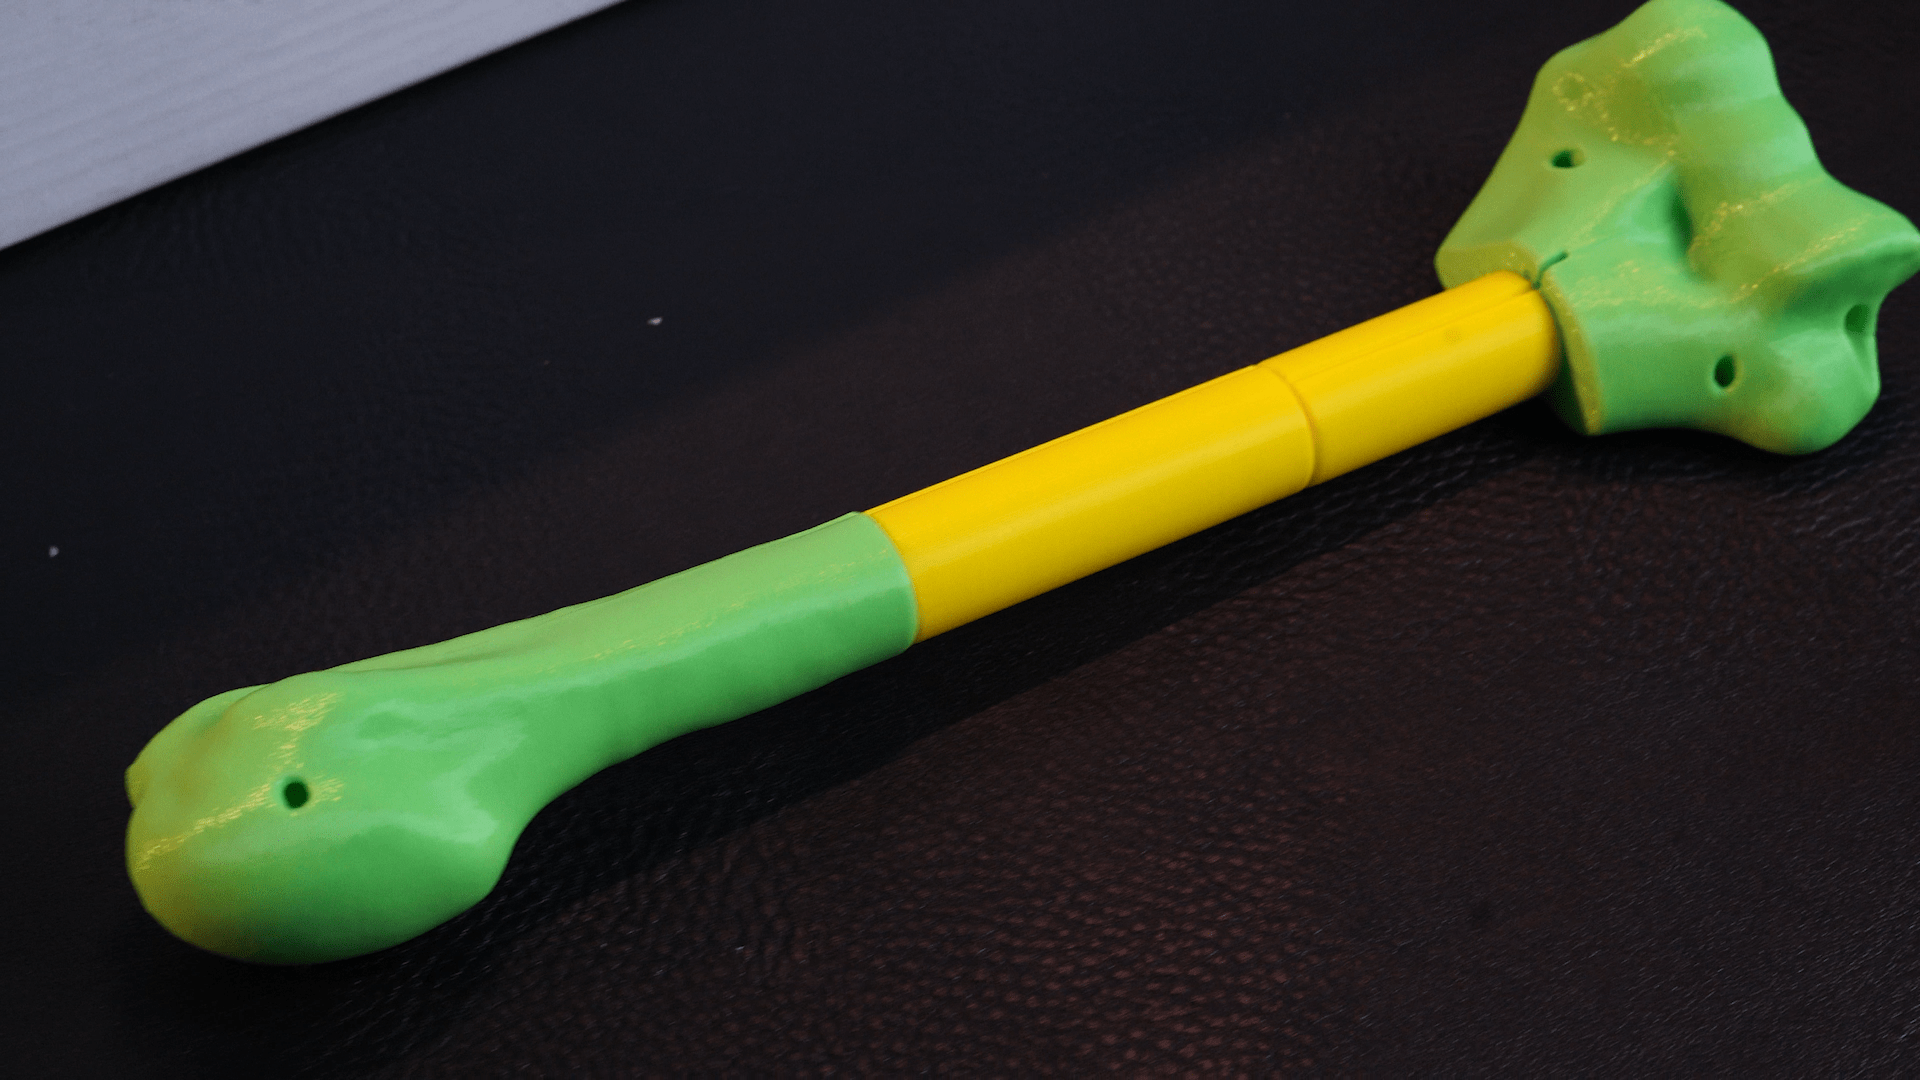
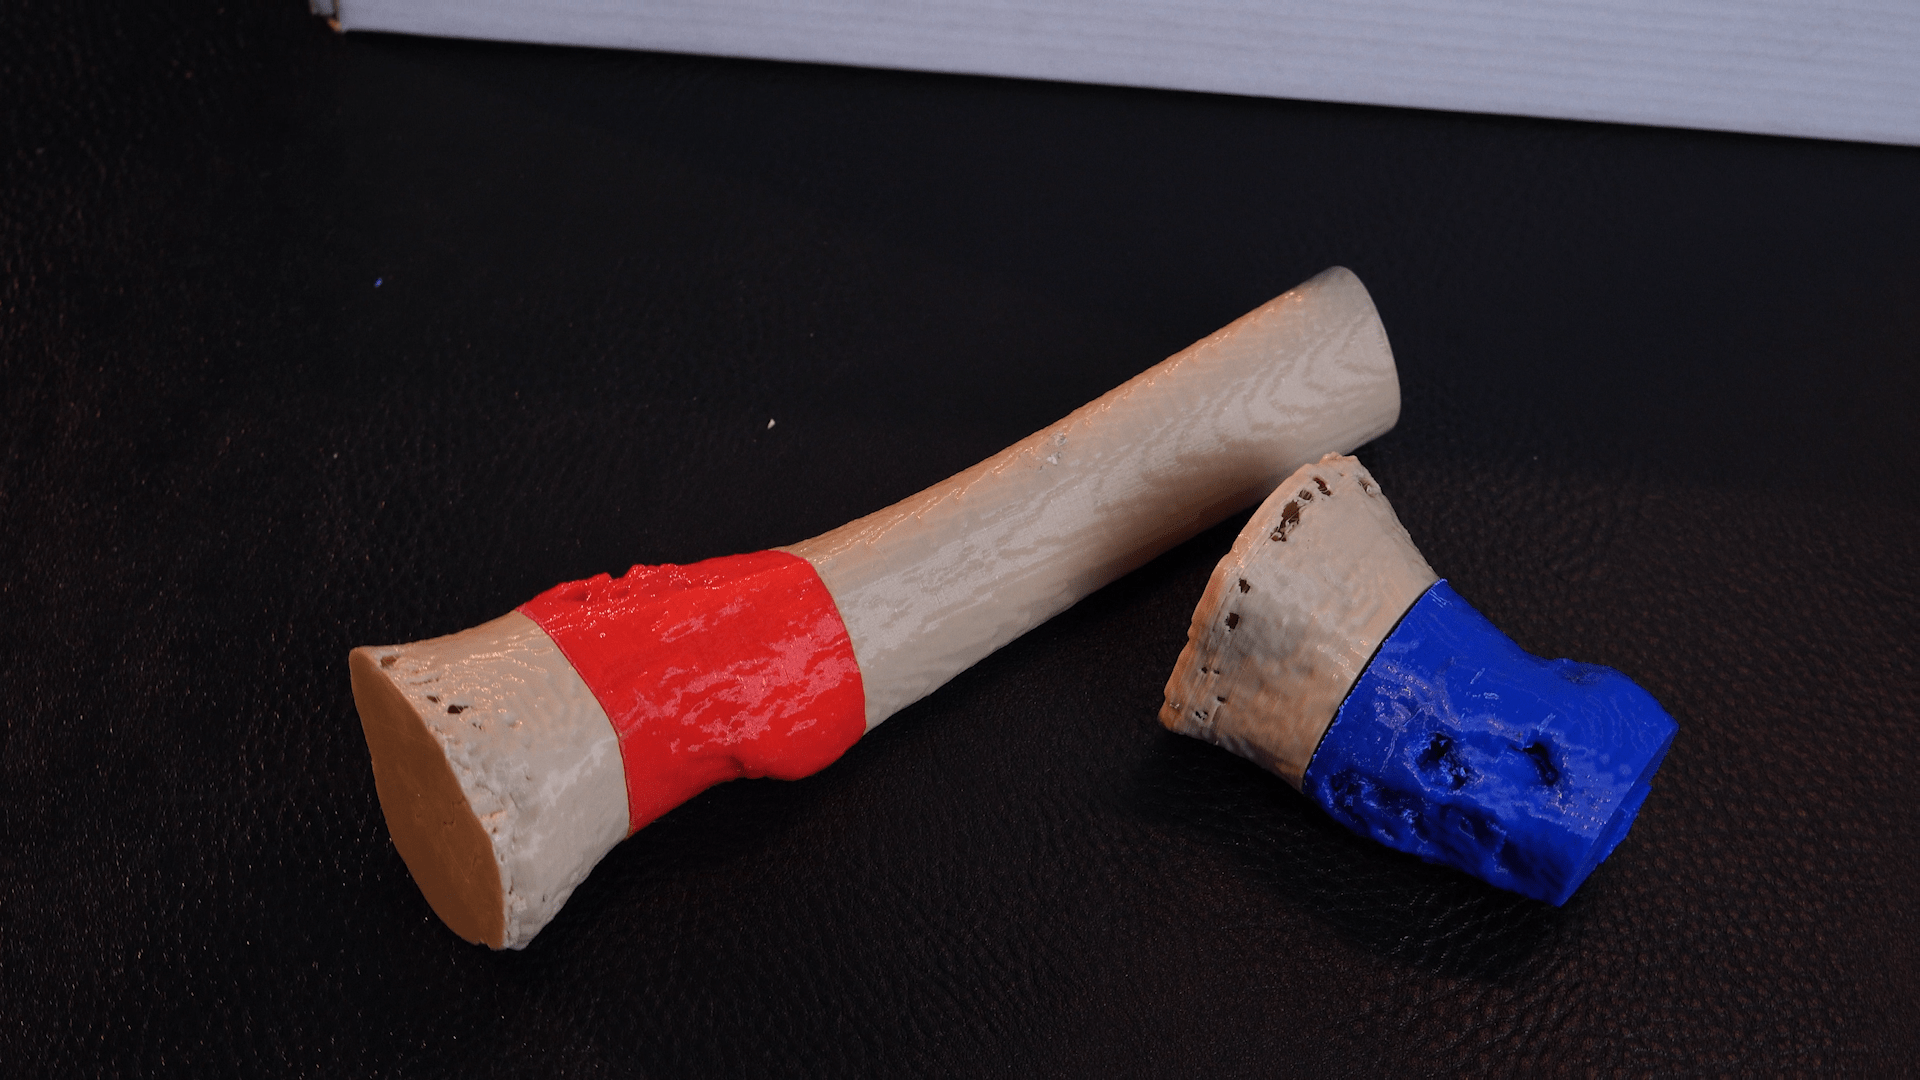
Step 4 – 3D Printing and Assembly
Each component is prepared for manufacture and produced using high-precision 3D printing technology. Following printing, the individual sections are assembled to create the complete anatomical model, ensuring all parts fit together correctly and accurately represent the patient anatomy.
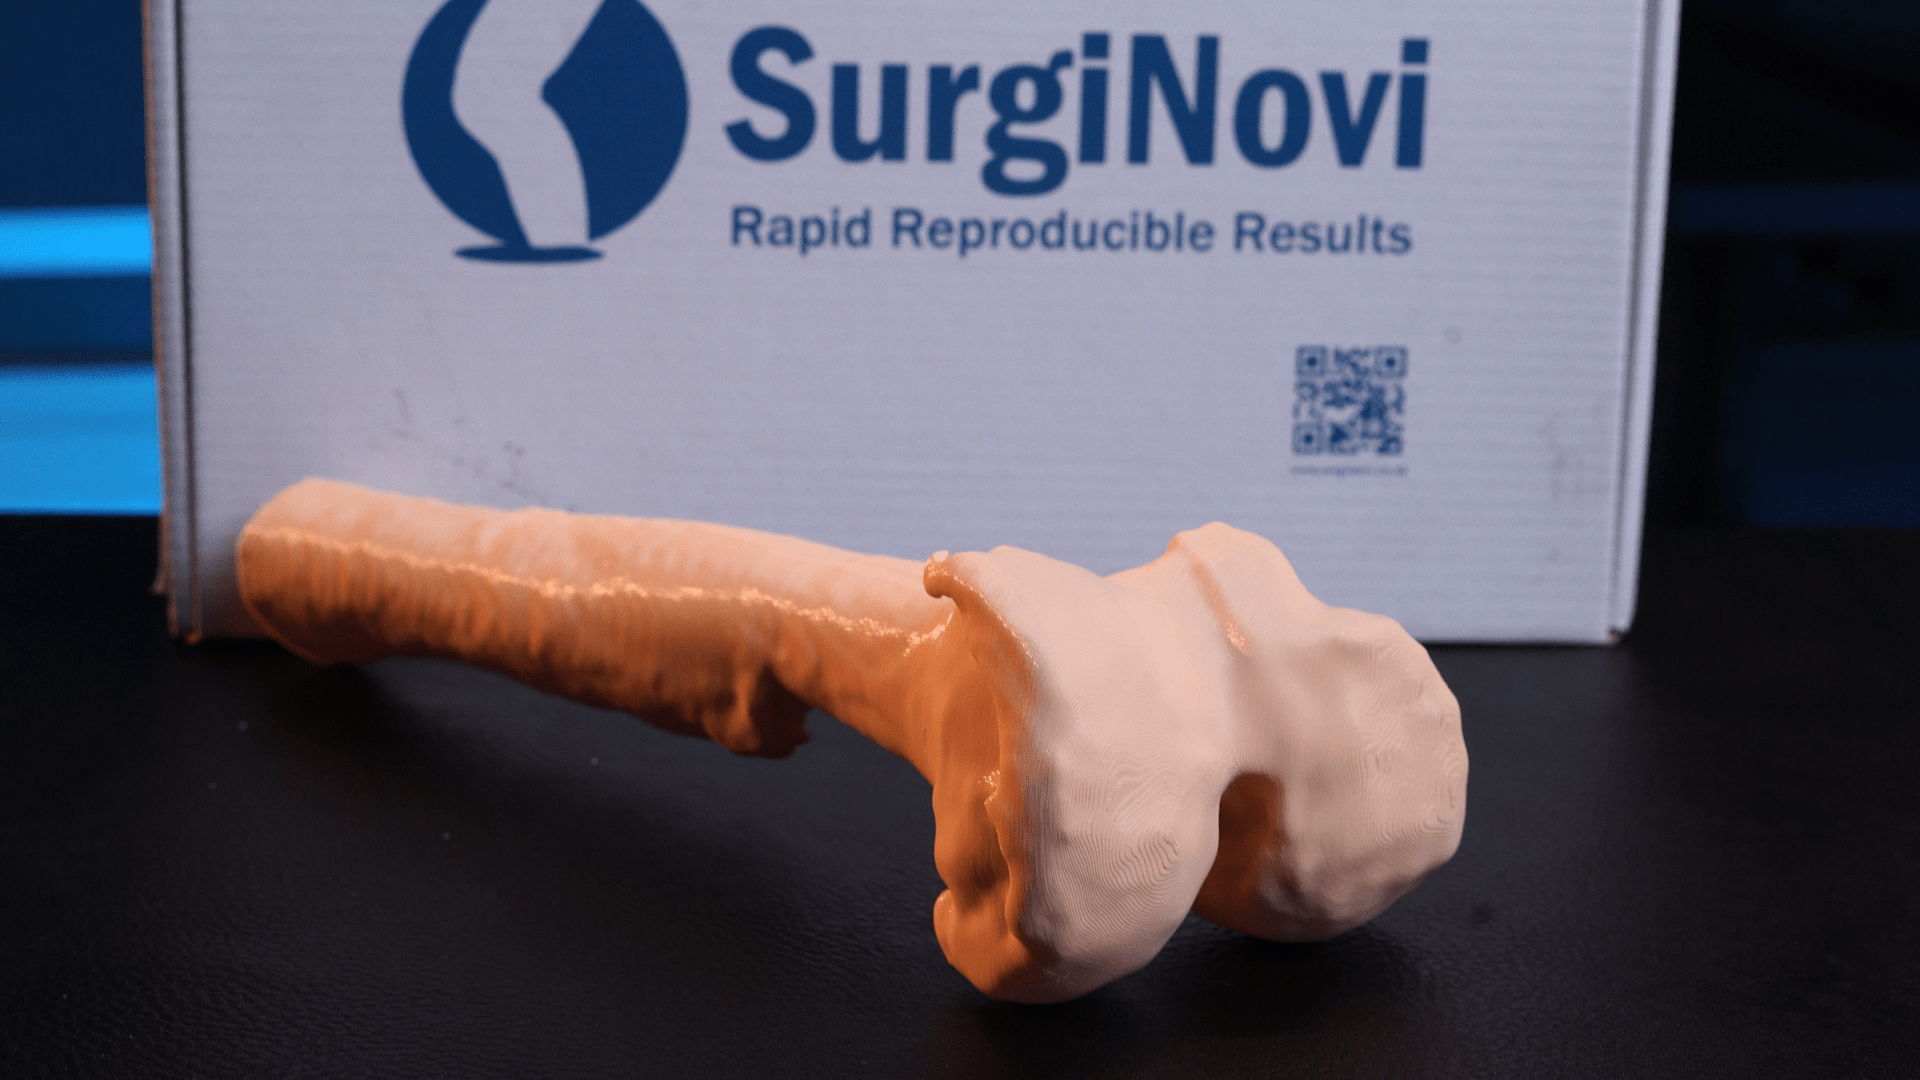
Step 5 – Finishing and Quality Preparation
The final stage involves completing the model through surface finishing and assembly. Any remaining rough surfaces are refined and finishing touches may be applied before the model is prepared for surgical planning, training, or educational use.
Applications
These models are routinely used in the planning of:
- Primary total knee arthroplasty
- Primary total hip arthroplasty
- Shoulder replacement procedures
- Revision joint surgery
- Cases involving deformity, malalignment, or bone loss
Each model reflects patient-specific anatomy rather than averaged or idealised geometry. In addition to surgical planning, 3D anatomical models can be used for:
- Surgical training
- Medical education
- Anatomical demonstration and understanding